June 11, 2012
Plan and execute test cases in ReQtest
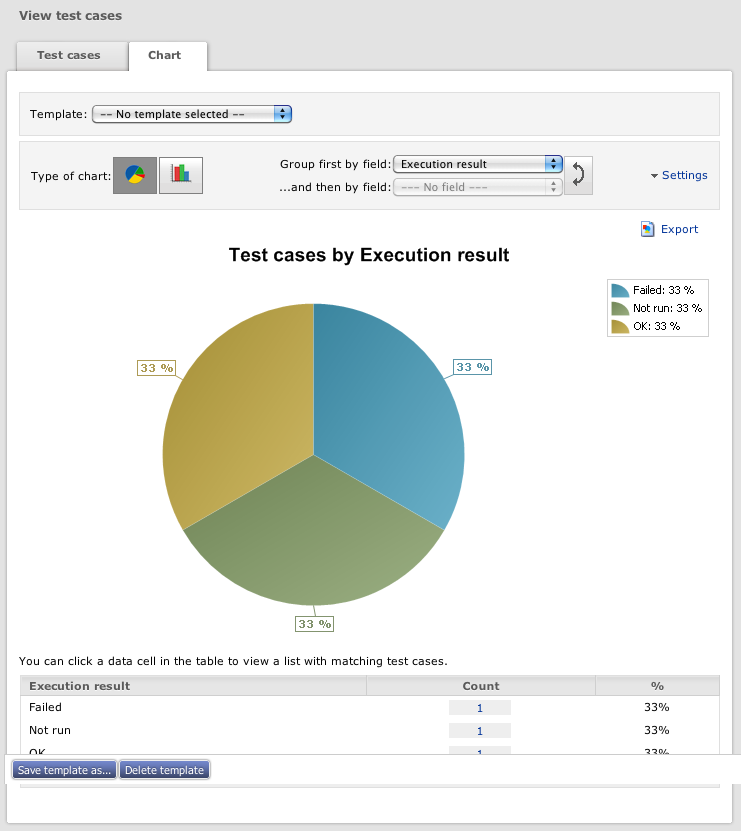
In this tutorial you will learn how to execute the test cases that you have previously written. Go to ‘Plan tests’, click ‘View test cases’ to show all your test cases.
Click on a specific test case, and you can see what the test case consists of and the steps in it.
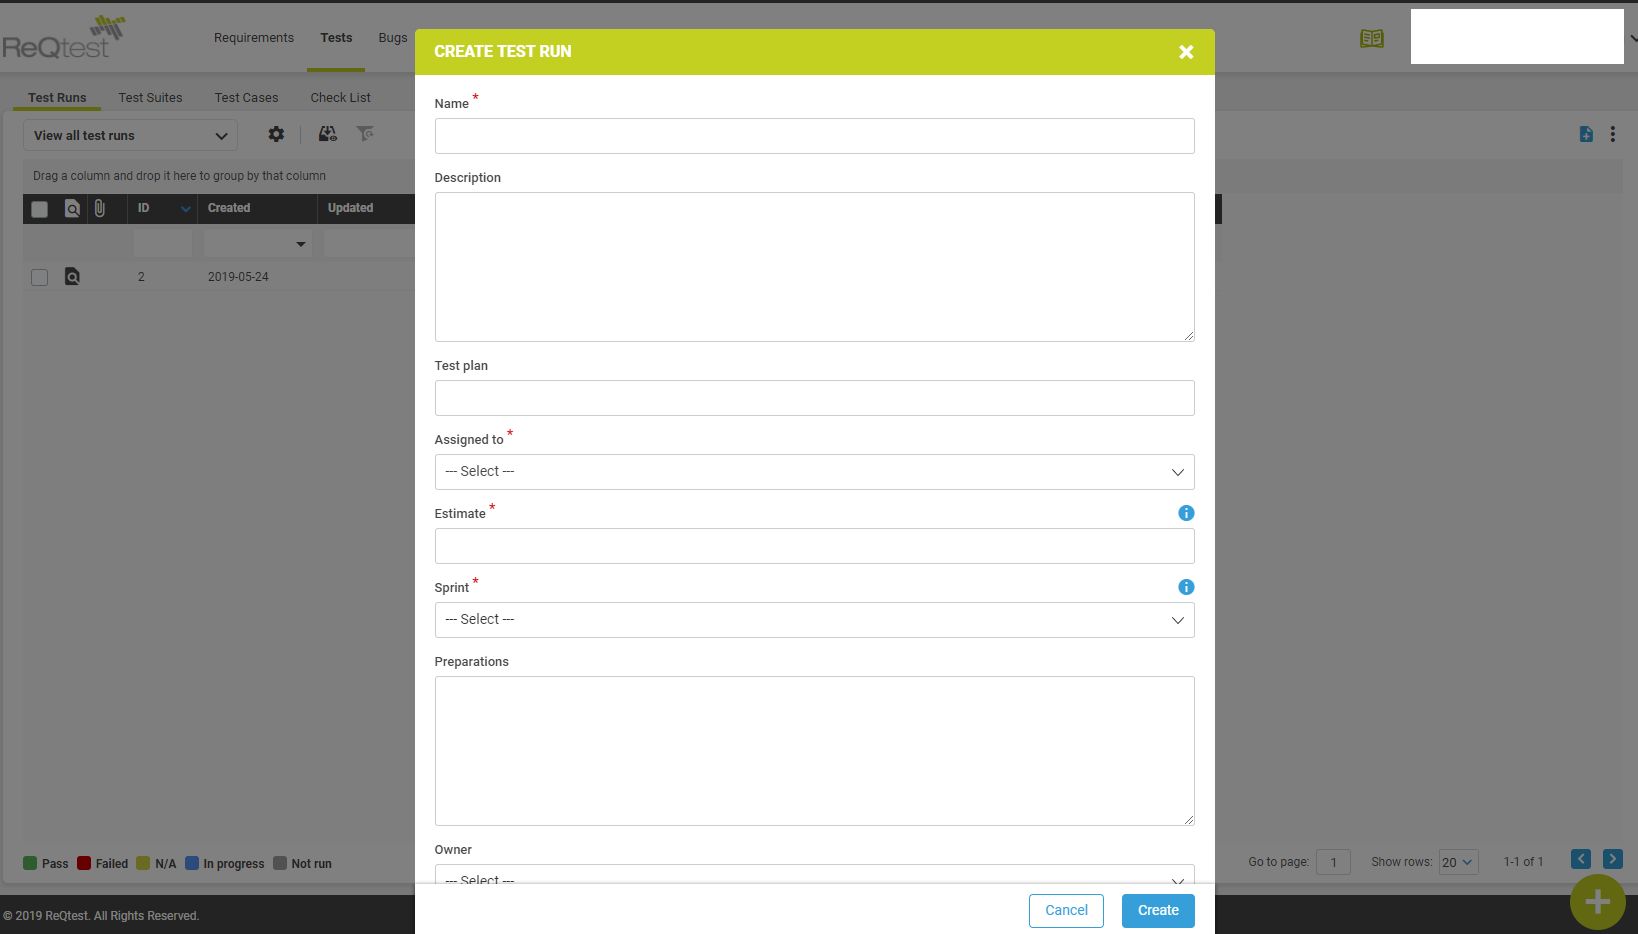
Let’s assume that we want different testers to execute different test cases. Go to ‘Plan test runs’ and create a new test run by clicking the button called ‘Create test run’ at the bottom of the page. A test run has a name and an owner and consists of test cases that are to be run by the owner.
What you will do here is name your new test run, and optionally, also provide a textual description of it. The name of the test run might for instance be the release number. You will also need to assign an owner to this test run, that is, the person who will execute it.

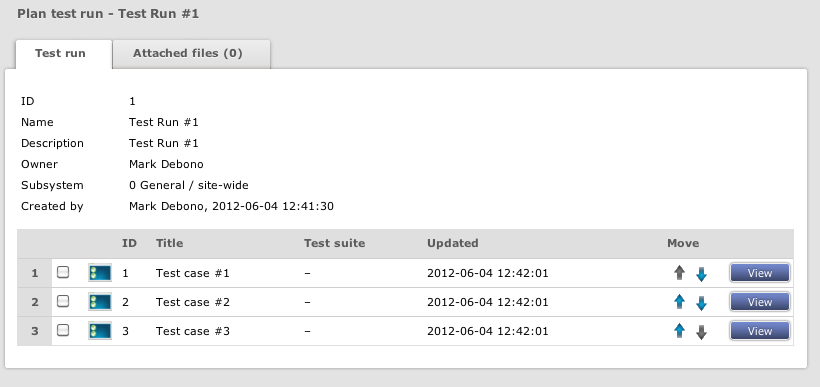
On the next screen, you will get a summary of the test run, which so far is empty. Click the blue ‘Add contents…’ button at the bottom of the page, and select ‘Test cases’ from the drop down menu. You will be taken to a page showing you all the test cases. Do not panic; remember that you can filter the test cases by ID, date created, , the test case title, the subsystem they belong to, type of test case, priority and many more parameters.
Tick the checkbox of the test cases you want to select, and then click on the ‘Add to test run’ button at the bottom of the screen. In cases where you have a large quantity of test cases, use the ‘Select…’ button next to the ‘Add to test run’ button, so as to select all test cases, select all test cases on the page or to unselect all.
After you’ve added test cases to the test run, you’ll be taken to a page which shows the test cases. Clicking a test case will expand it, showing the steps which need to be taken in this test case. If you want to add more test cases, test suites or a checklist (a simplified form of a test case, watch a video on how to do that here) just click on the ‘Add contents…’ button on the bottom of the screen.
If you want your test cases to be executed in a specific order simply use the arrows to move them up or down as required.

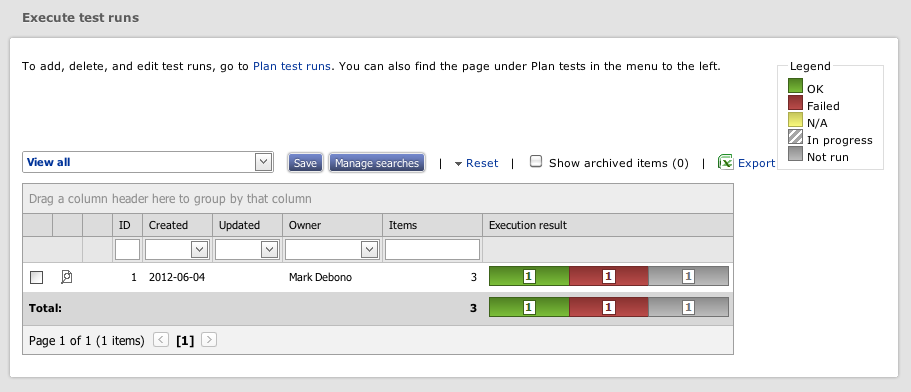
Now, let’s change view and take a look at the job that the tester is going to perform in order to execute the tests. The first thing you should do is to click on ‘Execute tests’ then ‘Execute test runs’. You’ll notice that the ‘Execution result’ will have different colours, initially you new test run is gray meaning that none of the tests are executed yet. On your top right you can see the legend which explains the different colors. What’s really helpful is that if you have multiple test cases in a test run and some have failed while others haven’t, you can quickly see this data under ‘Execution result’, for example, that 4 test cases are OK, 3 have failed, and another 3 have not yet been run.

Whoever is assigned to run the test run will click on it. To expand test cases within the testrun, simply click the title and ReQtest will automatically scroll down to the different steps and their descriptions and the expected result. From that point, the tester should follow the instructions and test the system. For steps which are OK, the tester should click the green tick button, steps which fail click the red cross button, and in instances where there is a bug, click on the ladybug icon to create a bug report.
When clicking the ladybug icon you’ll get a bug report template in a new window, and this will have been intelligently filled in with as much detail as possible, including a link to the specific test case that just failed, the subsystem and all the steps in the test case, expected results. Complete the bug report with the actual results, set an owner, chose a title, priority and severity and then save it. Whe you have saved the bug report you can attach files such as screenshots to the bug report, but more on that in this video.
Close the bug report and you’ll be taken back to the test run, which will show you a summary of the test cases and their progress.
If you do not want to go through the test case step by step, you can also click on the ‘Set all steps to:’ drop down, which allows you to set all the steps in a test case to Not run, OK, failed or N/A. Click ‘save’ after setting all steps.
It’s extremely easy to follow the progress of the tests even as a test manager, as the colour scheme quickly gives you a precise overview of what test runs and test cases have been run, which have failed, or are OK and what bug reports resulted from this testing. Using this information the test manager can supply project management with qualified data to make the right decisions about when to release the system, based on overall test progress.

If you want visual step by step to creating and executing test cases in ReQtest, you can watch the video below –
[responsive_vid]
Share article