November 23, 2020
Sanity Testing – How To Do It Best
There are many testing methods; in this article, we will outline one method known as sanity testing and explain how to do it so that you can perform sanity testing yourself.
What Is Sanity Testing?
Sanity testing is often confused with smoke testing, which tests a software build to see if the critical functions work as they should before regression testing is executed. In contrast, sanity testing is a form of regression testing, which focuses on testing specific functionality after making changes to the code and fixing any bugs.
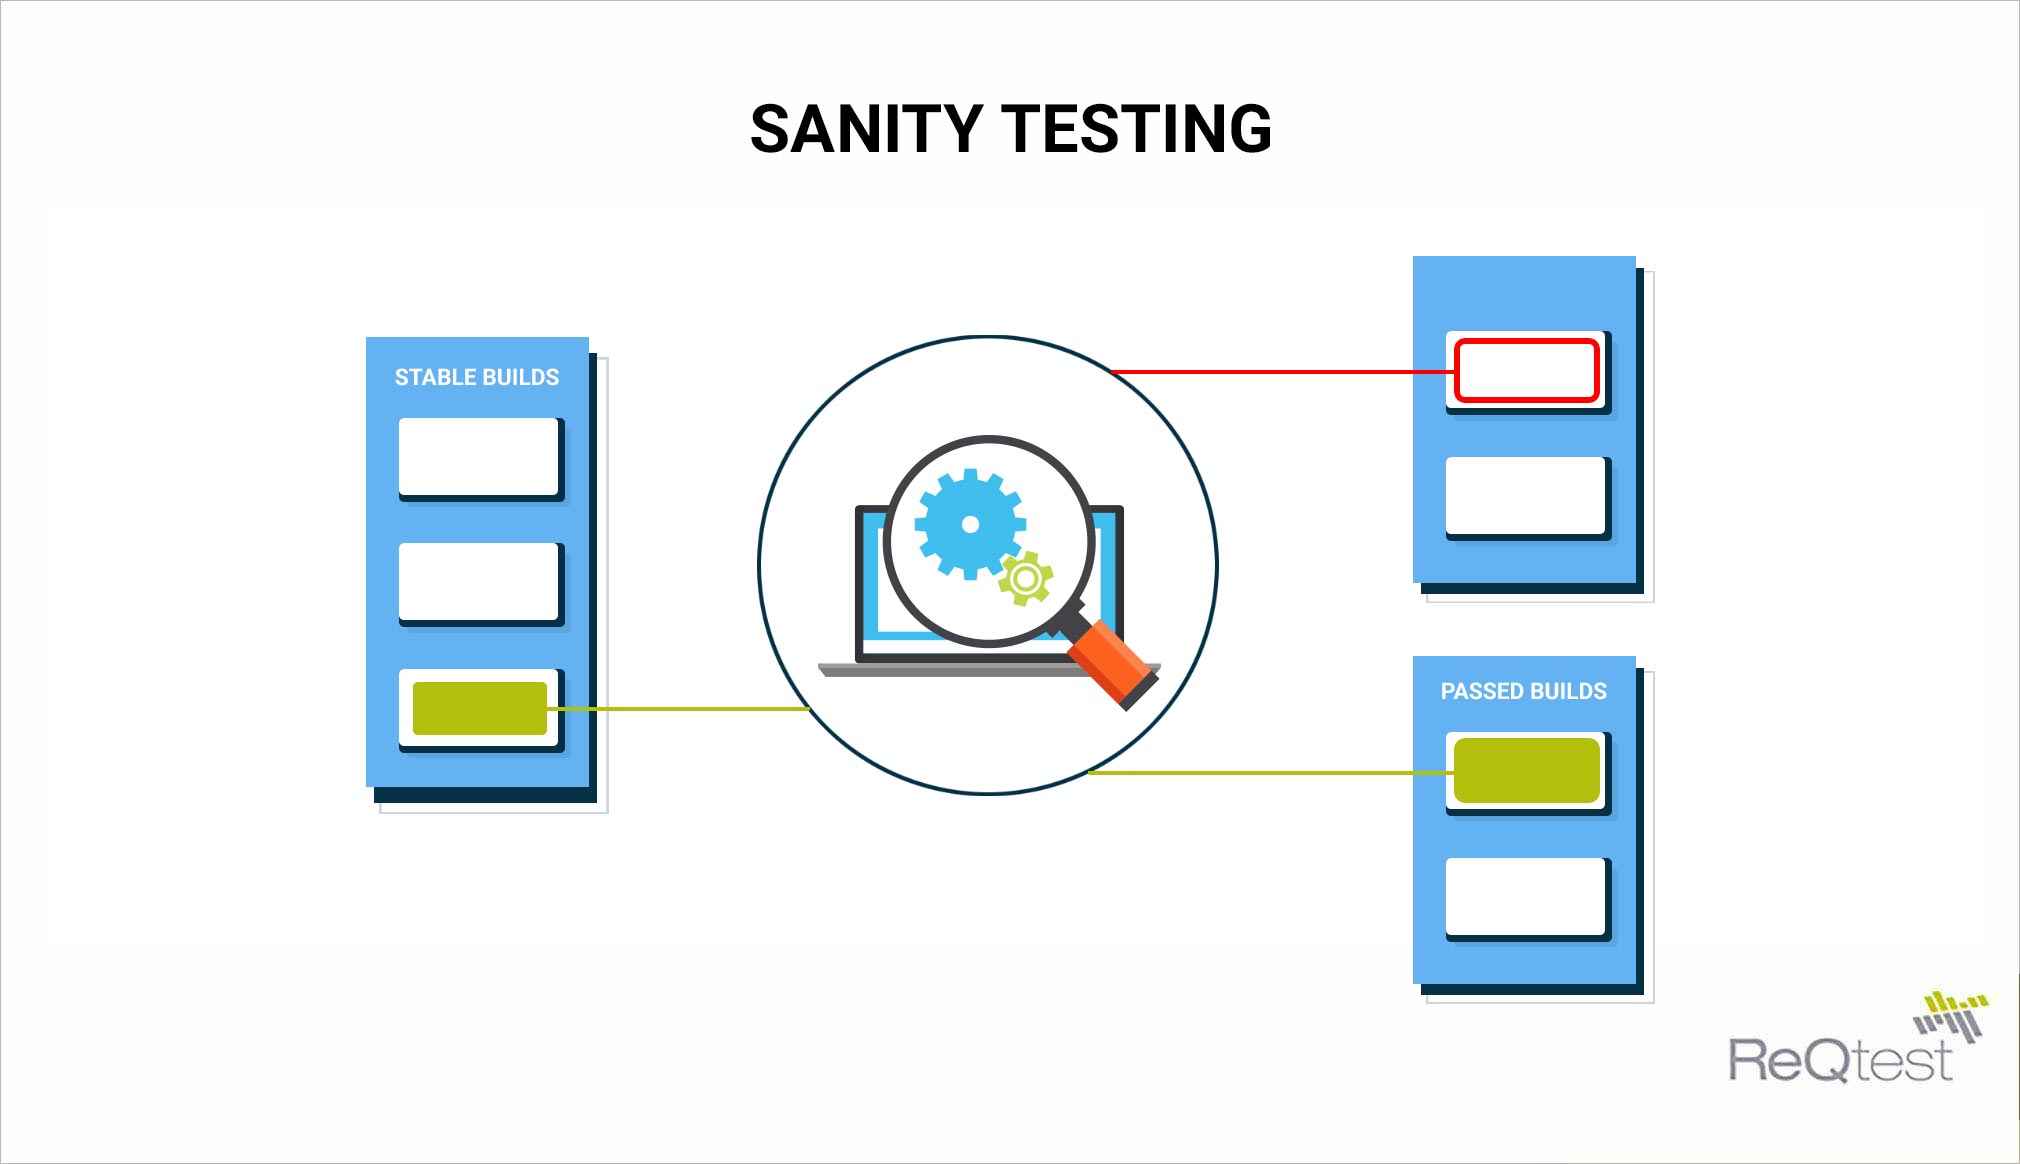
As the name suggests, this form of testing tests the “sanity” of an application. The aim is to make sure that any reported bugs have been removed and that the specified functionality works correctly.
At this point, it’s important to add that sanity testing is usually done towards the end of a software testing cycle where the software build is stable. For this reason, this form of testing is often unscripted. It is performed to check that functionality has been fixed where there were previous bugs. Thus, it is not a broad form of testing that requires intensive documentation.
Sanity testing can be seen as surface-level testing. Testers use it to decide whether or not the relevant piece of software needs to be passed on for further testing or not. In this way, this is a much quicker and more cost-effective means of checking software at certain key stages during the software development lifecycle.
The Best Way To Do Sanity Testing
As sanity testing is a largely unscripted and undocumented form of testing and focuses more on surface-level functionality, there is no strict protocol for how to do it. As with any kind of business process, it is therefore up to your organization to determine exactly how you’d like to carry this out.
However, there are certain guidelines that you can follow to help you implement this form of testing.
Sanity Testing Steps
Step 1: Identification
The first step when carrying out sanity testing, as with any other kind of testing, is to establish exactly what needs testing. This includes all of the functionality, features, and modifications that were introduced to the relevant code.
Step 2: Evaluation
In this step, the testers will check and evaluate all of the identified functionality, features, and modifications from the previous step. This is to see if they work as they should.
Step 3: Testing
In this step, testers will then check all of the functionality, parameters, and relevant elements that are associated with the functionality evaluated above. This will make sure that all of your bases are covered when it comes to the correct functioning of the software.
Sanity Testing Example
The three steps above provide a very broad outline of how this process works. To give an example, if a user visits a website and needs to create an account, there is certain functionality in place to make sure that they can enter their details and set up a profile. This is a very straightforward process.
For argument’s sake, though, imagine that the software development team needed to add additional features, like being able to add a profile image, or to be able to preview the user profile before saving it.
In this case, the team would add these features at a previous stage of the development lifecycle, and then check them with sanity testing to make sure that they function correctly. This testing helps to make sure that the user is still able to carry out the sign-up process without any part of the process being negatively affected by the added functionality.
This example shows how in the sanity testing phase, you would check to see if the changes made to introduce the functionality of adding a profile image and being able to preview it would affect the overall process of signing up for an account from a coding perspective.
Some Advantages Of Sanity Testing
As with any kind of software testing, there are relative advantages for each of them. In the case of sanity testing, there are several advantages. They include the following:
- Time and cost-effective. Since you are not dedicating intensive resources towards in-depth testing with this method, you save time and money.
- Focus on relevant functionality. Instead of a broad and shallow overview of the functionality of the software, this particular method allows you to do a deep dive into specific functionality. This can help you to pick up bugs at a crucial stage of even the most stable software build.
- No need for scripting and documentation. Since this form of testing is more surface-level focused, it does not require intensive effort into documenting the process. This can help you to save time and effort when checking for bugs.
- Straightforward approach. This method is a very straightforward way to check for bugs and any other kinds of deployment and compilation issues.
- Efficiency. This form of testing is very efficient as it focuses on very specific functionality. It gets straight to the relevant and associated functionality and features without taking a broad approach that could prove to be more time-intensive.
Final Thoughts
Above is a very broad overview of sanity testing and how to do it. Although each implementation of this method might be different depending on the software being tested, sanity testing can help you save time, effort, and money by focusing on testing certain functionality at an early stage of the software development lifecycle.
Share article